When you walk into a professional recording studio, the first thing you notice is the equipment. But as any seasoned engineer at Mindzstudioz will tell you, the most important piece of gear in your studio isn’t a microphone, a preamp, or even your favorite synthesizer. It is the room itself.
A studio layout is not merely about aesthetics or ergonomics; it is a fundamental pillar of acoustic science. If your room is working against you, your mixing decisions will be compromised. Here is a comprehensive guide to optimizing your studio layout for sonic perfection.
1. The Geometry of the Room: Avoiding Parallel Reflections
Sound behaves like light bouncing off mirrors. When sound waves hit parallel surfaces—like flat, opposite walls—they reflect back and forth, creating standing waves. These standing waves cause “room modes,” where certain frequencies are unnaturally boosted or cancelled out.
Avoid the Perfect Square: If you have the luxury of choosing your room, avoid perfectly square spaces. Rectangular rooms are better, but rooms with non-parallel walls are ideal.
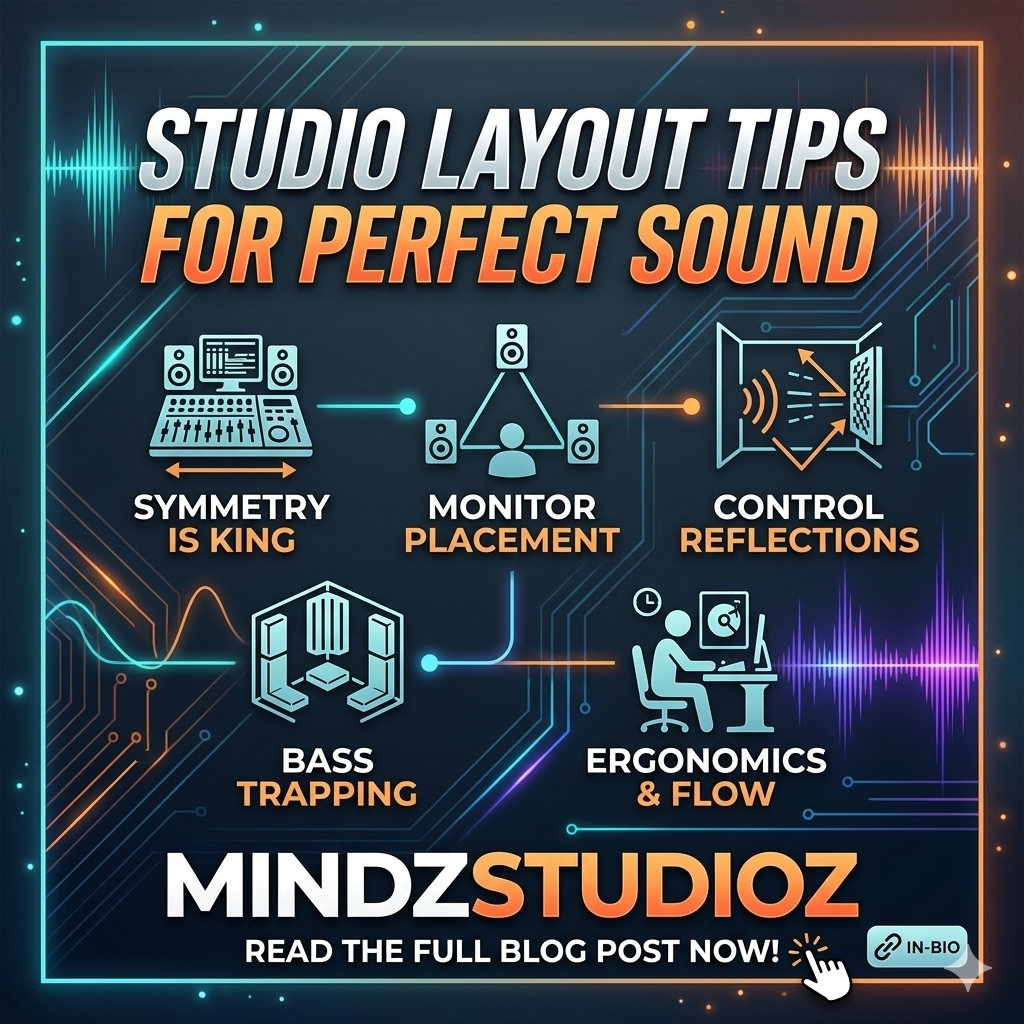
Symmetry is King: Your listening position should be perfectly centered between the side walls. If you are offset, the sound reaching your left ear will arrive at a different time and intensity than the sound reaching your right ear, destroying your stereo image and phantom center.
2. The Golden Ratio and Speaker Placement
The “Equilateral Triangle” rule is the gold standard for near-field monitoring.
The Triangle: Your two monitors and your head should form an equilateral triangle. If your speakers are four feet apart, your head should be exactly four feet from each speaker.
Tweeter Height: Ensure your tweeters are at the same level as your ears when you are seated. If you are sitting too high or too low, you will miss the high-frequency detail, leading to “muddy” or “dull” mixes.
The 38% Rule: A popular starting point for positioning your desk is at 38% of the room’s total length (measured from the front wall). This location often helps minimize the impact of the strongest standing waves.
3. Controlling Early Reflections
The biggest enemy of a clean mix is the “early reflection.” This happens when sound from your monitors bounces off your desk, side walls, or ceiling and hits your ears milliseconds after the direct sound. Your brain struggles to process these overlapping signals, which blurs the soundstage.
The Mirror Test: Sit in your mixing position and have a friend hold a mirror flat against the side wall. Move the mirror until you can see the reflection of the monitor in it. That specific spot is where you need to place an acoustic absorber. Repeat this for the other wall.
Desk Reflections: If you have a large, reflective mixing console or desk, consider placing a thick felt or foam pad on the surface between you and the speakers to break up those bounces.
4. Bass Trapping: The Low-End Foundation
Low frequencies are the hardest to manage because their long wavelengths penetrate almost any standard construction material. They tend to gather in the corners of your room, creating a “boomy” or “muddy” sound that masks the clarity of your tracks.
Corner Treatment: Bass traps should be placed in every corner of the room, from floor to ceiling if possible. Corners are where sound pressure accumulates, and thick, dense foam or rockwool panels act like sponges, soaking up that energy before it can bounce back into your workspace.
Don’t Over-Dampen: While you want to kill unwanted reflections, you don’t want a “dead” room. A room that is too absorbent feels claustrophobic and unnatural. Balance your bass traps with mid-to-high frequency diffusers to maintain a lively, professional character.
5. Ergonomics and Workflow
Sound quality isn’t just about acoustics; it’s about your physical relationship to your gear. If you are uncomfortable, you will make faster, lazier, or less precise decisions.
The “Reach” Radius: Keep your most essential tools—your primary MIDI keyboard, your interface, and your transport controls—within an easy reach of your swivel chair. If you have to lean forward or stand up every time you want to record, you lose your creative momentum.
Cable Management: Messy, unorganized cables are more than an eyesore; they are a nightmare for troubleshooting and can sometimes induce ground loops or interference. Keep audio cables separated from power cables to prevent hum, and use velcro ties to keep your signal flow clean and traceable.
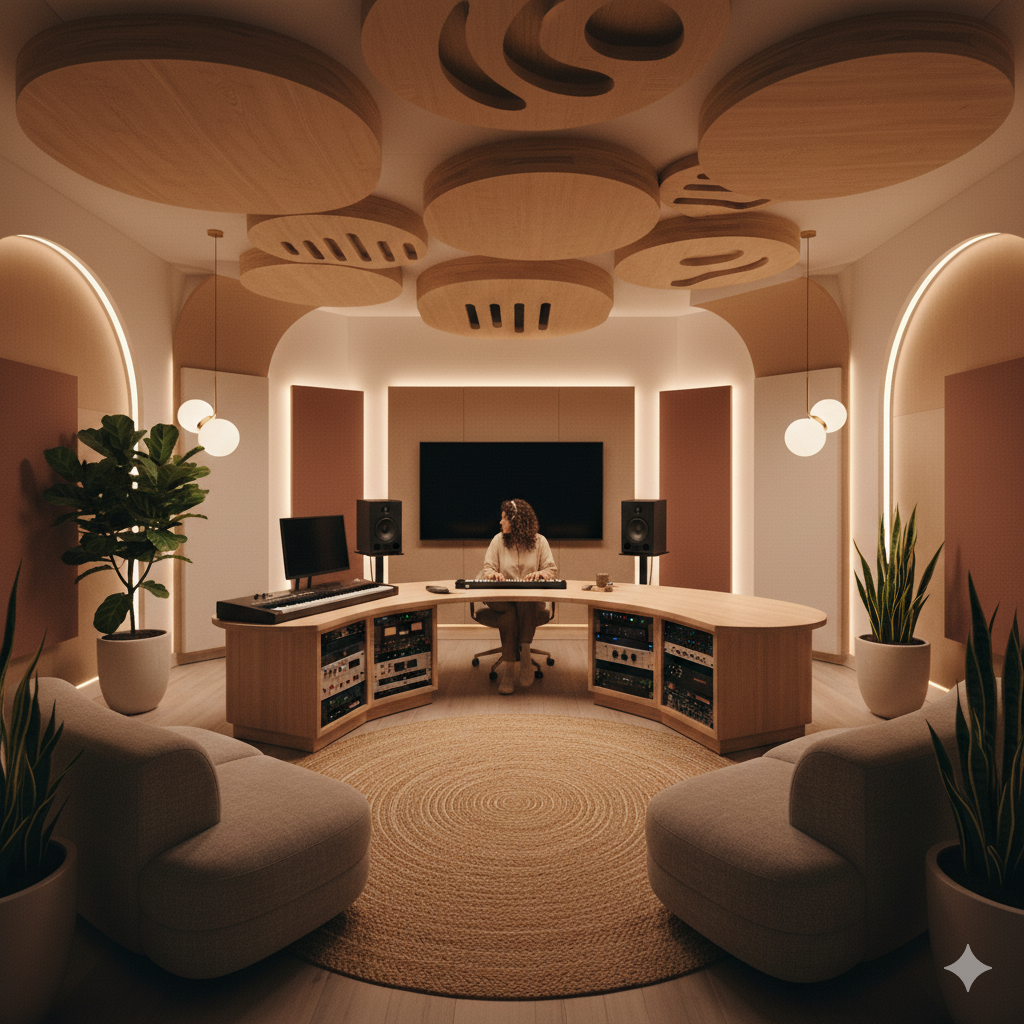
Finally, remember that your studio is a creative sanctuary. While acoustic panels and speaker stands are vital, the “vibe” of your layout matters. Proper cable routing and tidy cable management lead to a clearer mind. A layout that promotes a fast workflow allows you to stay in the “flow state” longer, which inevitably leads to better performances and higher-quality production.
At Mindzstudioz, we believe that the best records are made when the technology disappears and only the music remains. By carefully tuning your room’s geometry and managing your acoustic reflections, you create a space that doesn’t just sound good—it helps you reach your full creative potential.